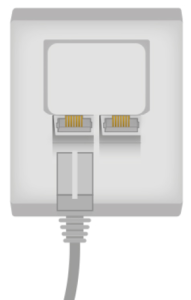
Start by connecting your computer directly with a network cable to your fiber outlet or fiber box on the wall.
2.
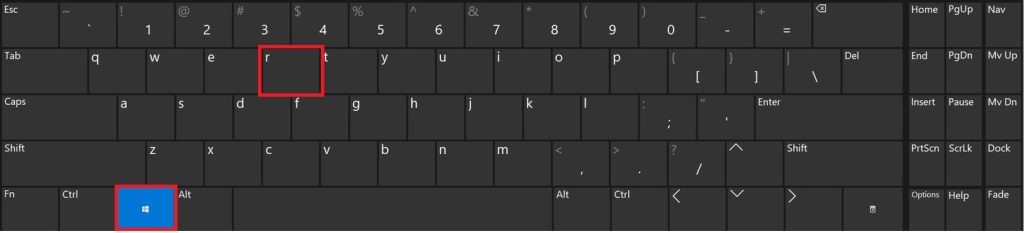
Open Run
When the computer is directly connected with a network cable, press the keys windows + r. The Windows key is the one with a small flag.
3.
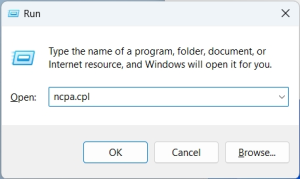
Use Run
In the box that appears in step 2, type ncpa.cpl and press ”OK.”
4.
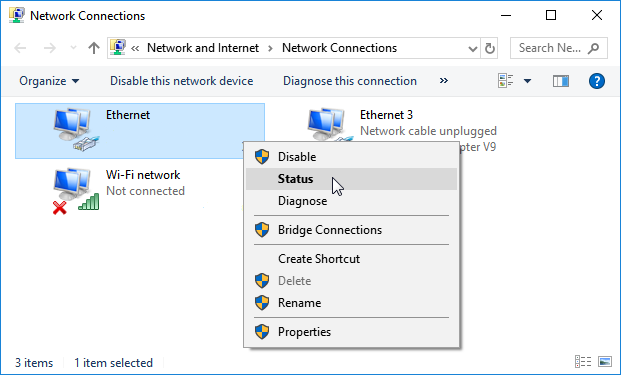
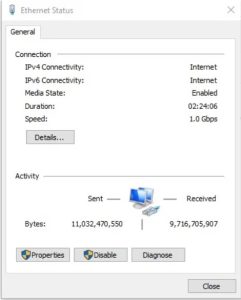
Right-click on your network connection
Right-click on your network connection (usually named Ethernet or Local Area Connection) and select Status.
5.
Properties
In the new window, press Properties.
6.
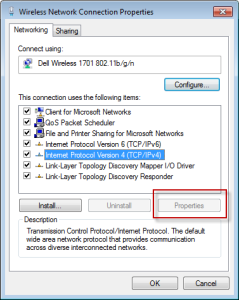
Properties for Ethernet
In the list, find Internet Protocol 4 (TCP/IPv4). Select it (without unchecking the box) and click on Properties again.
7.
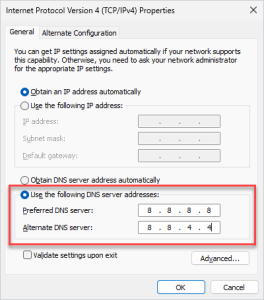
DNS adresses
In the box that appears, go to the bottom and check the box that says ”Use the following DNS server addresses:”. Fill in the preferred and alternative DNS server. For example, you can use Google’s DNS servers as shown here.
Preferred: 8.8.8.8 Alternative: 8.8.4.4
8.
Confirm the changes
Press OK to save the changes and close the windows.
You’re done! Now you can try opening a website in your browser with the new DNS server. To be completely sure that the new server is being used, you can unplug the network cable and plug it back in.
Done!
If you need our help, you can call us at 010-510 00 00.