Unpack the ZIP file and start the installation of UniVPN.
2.
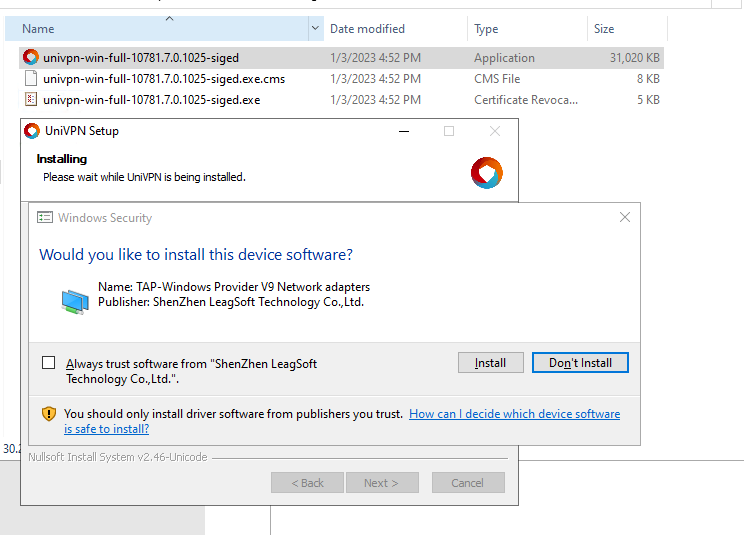
Accept installation
Accept the VPN driver installation by clicking ”install”.
3.
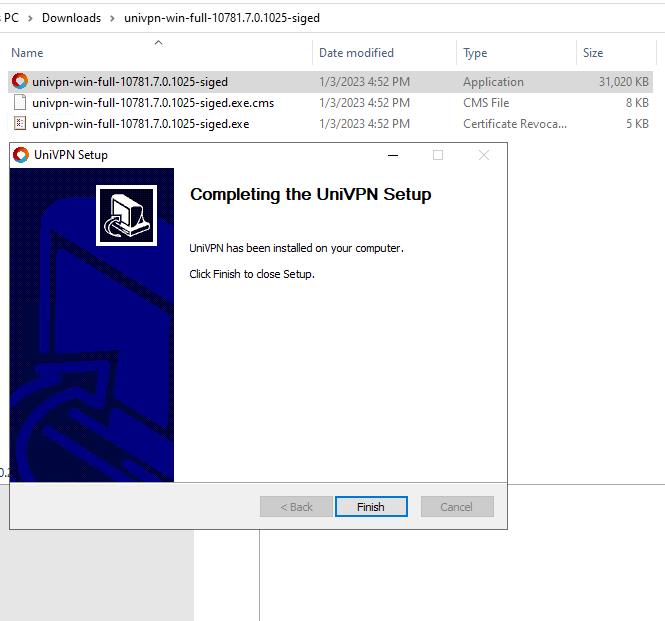
Installation finished
UniVPN is now installed. Press finish.
4.
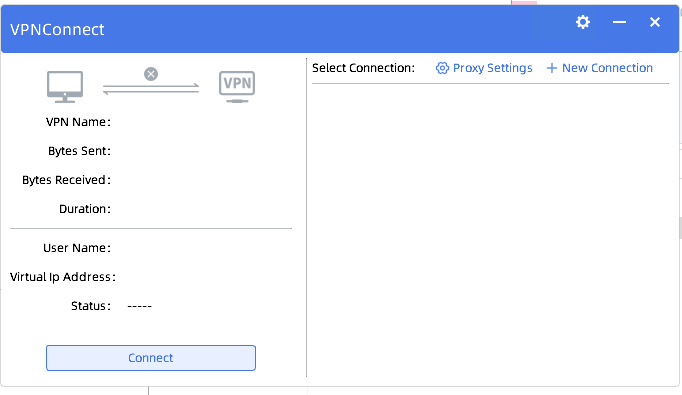
Start UniVPN
Start UniVPN from your start menu.
Then click on ”+ New Connection” in the upper right corner.
5.
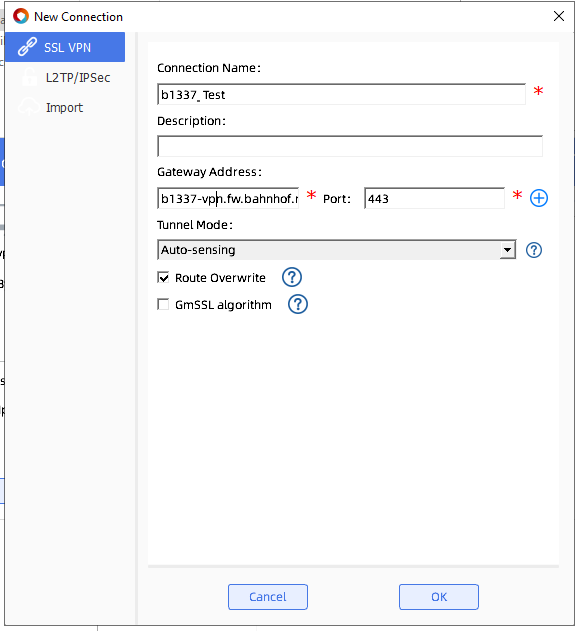
Name your VPN connection
Your VPN connection requires a name. It can be any name you want, but no blank spaces are allowed.
Then type in your VPN gateway adress and press OK.
6.
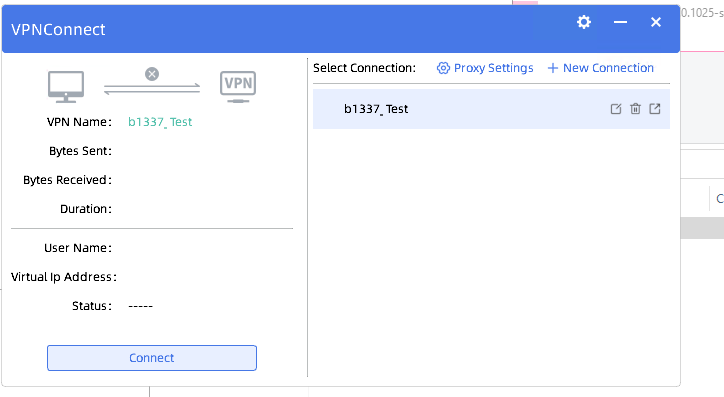
Connect to your VPN
Simply press ”connect” in the lower left corner.
7.
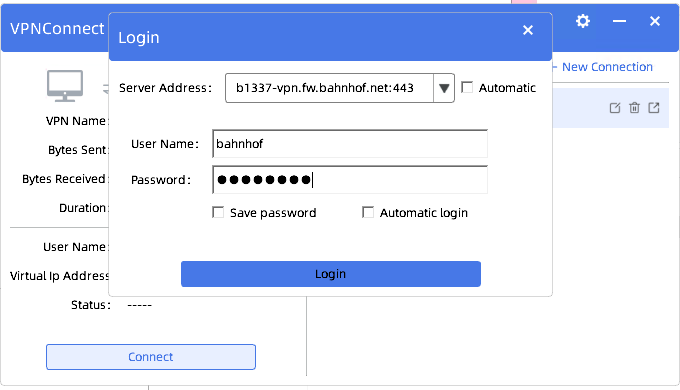
Login
You’re asked for your username and password. First time you connect, you are forced to do a password change on your user account. So, leave the boxes for ”save password” and ”automatic login” unticked.
8.
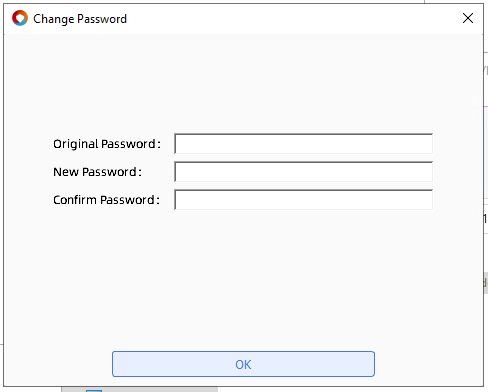
Change password
Change your password. First type in the password given to you. Then fill in your new password twice.
The password must be a string of 6 to 16 characters and must contain at least three of the following character types: uppercase letters, lowercase letters, digits, and special characters. The password cannot be the same as the user name.
9.
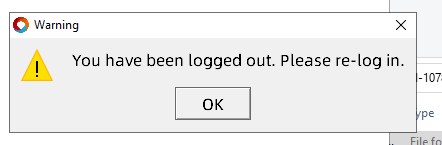
Disconnect
After the password is changed, the VPN is disconnected.
10.
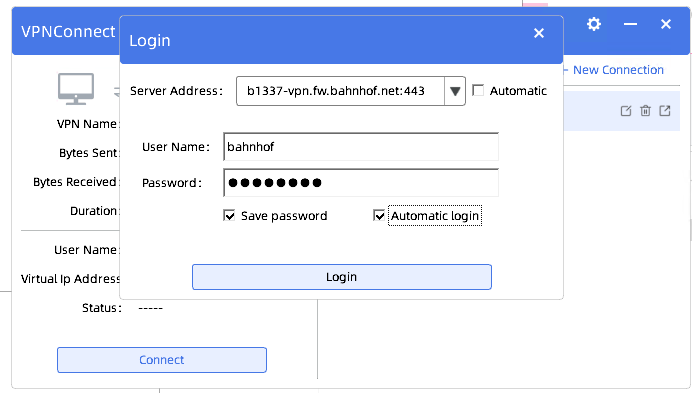
Re-connect
Upon re-connecting, you’re asked for your username and password yet again. You’re now free to tick in ”save password” and/or ”automatic login”.
”Save password” does exactly what it sounds like, ”automatic login” will tell the VPN client to automatically connect when launched.
After this you have done all the steps necessary, and can now start using UniVPN.